Bulletin Board Tutorial
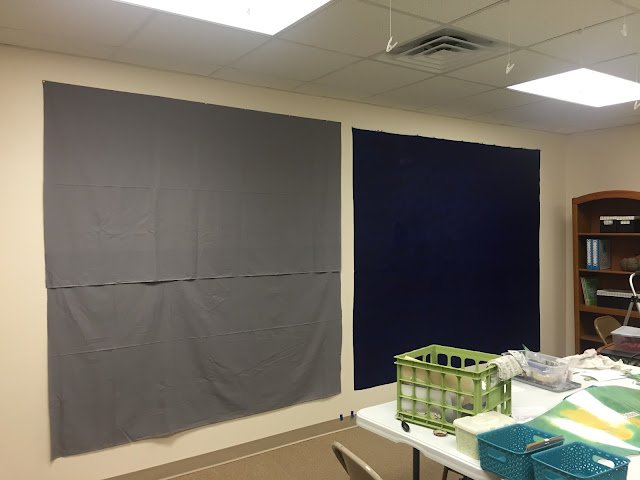
Fabric placed where desired and just awaiting starch!
Excited about our new wall space, we looked for cost-effective alternatives to traditional bulletin boards. We decided to try starching fabric directly onto the wall. Here's how we did it:
Supplies:
Measuring Tape
Lightweight Cotton Fabric (cut to size)
Thumbtacks/Push pins
Level
Paint Roller/Sponge or foam cover
Paint Tray
Stepladder
Sta-Flo Liquid Starch
Drop Cloths
A small foam brush
A friend (it is extremely helpful to have an extra set of hands)
Bulletin board border
Steps:
Measure and tack the fabric to the top of the wall using thumbtacks.
Ensure levelness by measuring down from the ceiling and using a level.
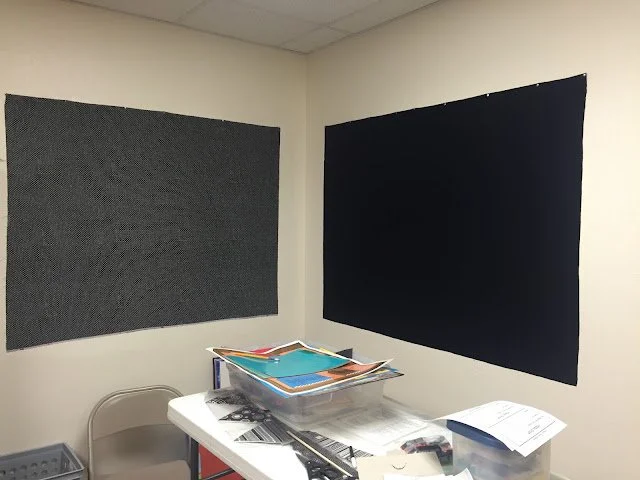
Smaller sized bulletin boards customized for the space.
This board takes up the majority of the wall and will be used for interactive games and large displays.
In Melissa's classroom, we utilized the entire wall space on one wall. We love the flexibility to customize each board to any desired size!
Here's how we continued the process:
Place drop cloths under the work area to protect the floor.
Pour liquid starch into a paint tray.
Lift the tacked fabric away from the wall, allowing your partner to roll liquid starch onto the wall behind the material, ensuring full coverage.
Smooth out the material, working from the center to the edges.
Use a small foam brush to apply starch behind the top edge of the fabric that is tacked to the wall. We found this method easier than removing the fabric entirely.
Roll liquid starch on top of the material, saturating the fabric and smoothing out wrinkles and bubbles.
After allowing the fabric to dry, we stapled bulletin board borders around the edges for a polished look. We used an X-acto knife to neatly cut around electrical outlets. For this project, we spent about $12 on liquid starch and $30-40 on bulletin board borders per wall. With eleven custom-sized boards, our total cost was still less than a single traditional bulletin board!
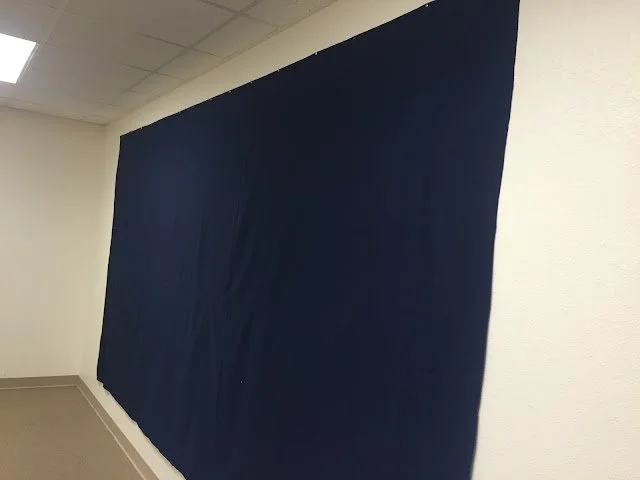
This particular board was not completely dry as you can see here! I just couldn't wait!


